Quick Start
In three short pages you'll build a small events API: people can browse events, filter and paginate them, sign in, and register for one. Along the way you'll see most of what makes Django Ninja pleasant to use: type hints that validate input, schemas generated from your models, interactive docs, auth, and routers.
This guide assumes you already know Django: projects, apps, models and migrations. It won't explain those; it only shows the Django Ninja parts.
| Page | What you'll do |
|---|---|
| 1. First API (this page) | Install, create an API, write an endpoint, open the interactive docs |
| 2. Models & Schemas | Full CRUD for an Event model, plus pagination and filtering |
| 3. Auth, Routers & Next Steps | Split the API into a router, require login, let users register for events |
Install
Django Ninja works with any Django project. If you don't have one yet, create a project and an app for the rest of this guide:
Add "events" to INSTALLED_APPS. Django Ninja itself doesn't need to be in INSTALLED_APPS, but adding "ninja" lets Django's runserver and collectstatic serve the interactive docs' assets locally instead of from a CDN.
Create the API
An API starts with a NinjaAPI instance. Create mysite/api.py next to urls.py:
from ninja import NinjaAPI

api = NinjaAPI()


@api.get("/hello")
def hello(request, name: str = "world"):
    return {"message": f"Hello, {name}!"}
Then mount it in urls.py, like any other set of views:
from django.contrib import admin
from django.urls import path

from .api import api

urlpatterns = [
    path("admin/", admin.site.urls),
    path("api/", api.urls),
]
Run the server:
and open http://127.0.0.1:8000/api/hello?name=Ninja:
A few things happened with no extra code:
@api.get("/hello")registered aGETendpoint at/api/hello.- The
requestargument is a regular DjangoHttpRequest, sorequest.user, sessions and middleware all work as usual. name: str = "world"became an optional query parameter with a default value.- The returned
dictwas serialized to JSON.
Type hints are validation
Every argument's type hint says what the endpoint accepts. Add an endpoint with two required integers:
/api/add?a=2&b=3 returns {"result": 5}, and a and b arrive in your function as real ints, not strings. Invalid input never reaches your code. Try /api/add?a=2&b=three:
{
    "detail": [
        {
            "type": "int_parsing",
            "loc": ["query", "b"],
            "msg": "Input should be a valid integer, unable to parse string as an integer"
        }
    ]
}
The response has status code 422, and the error points to exactly which parameter failed and why. The same works for float, bool, date, datetime, UUID, enums, and more. See Query Parameters for the full list.
Interactive docs
Now open http://127.0.0.1:8000/api/docs:
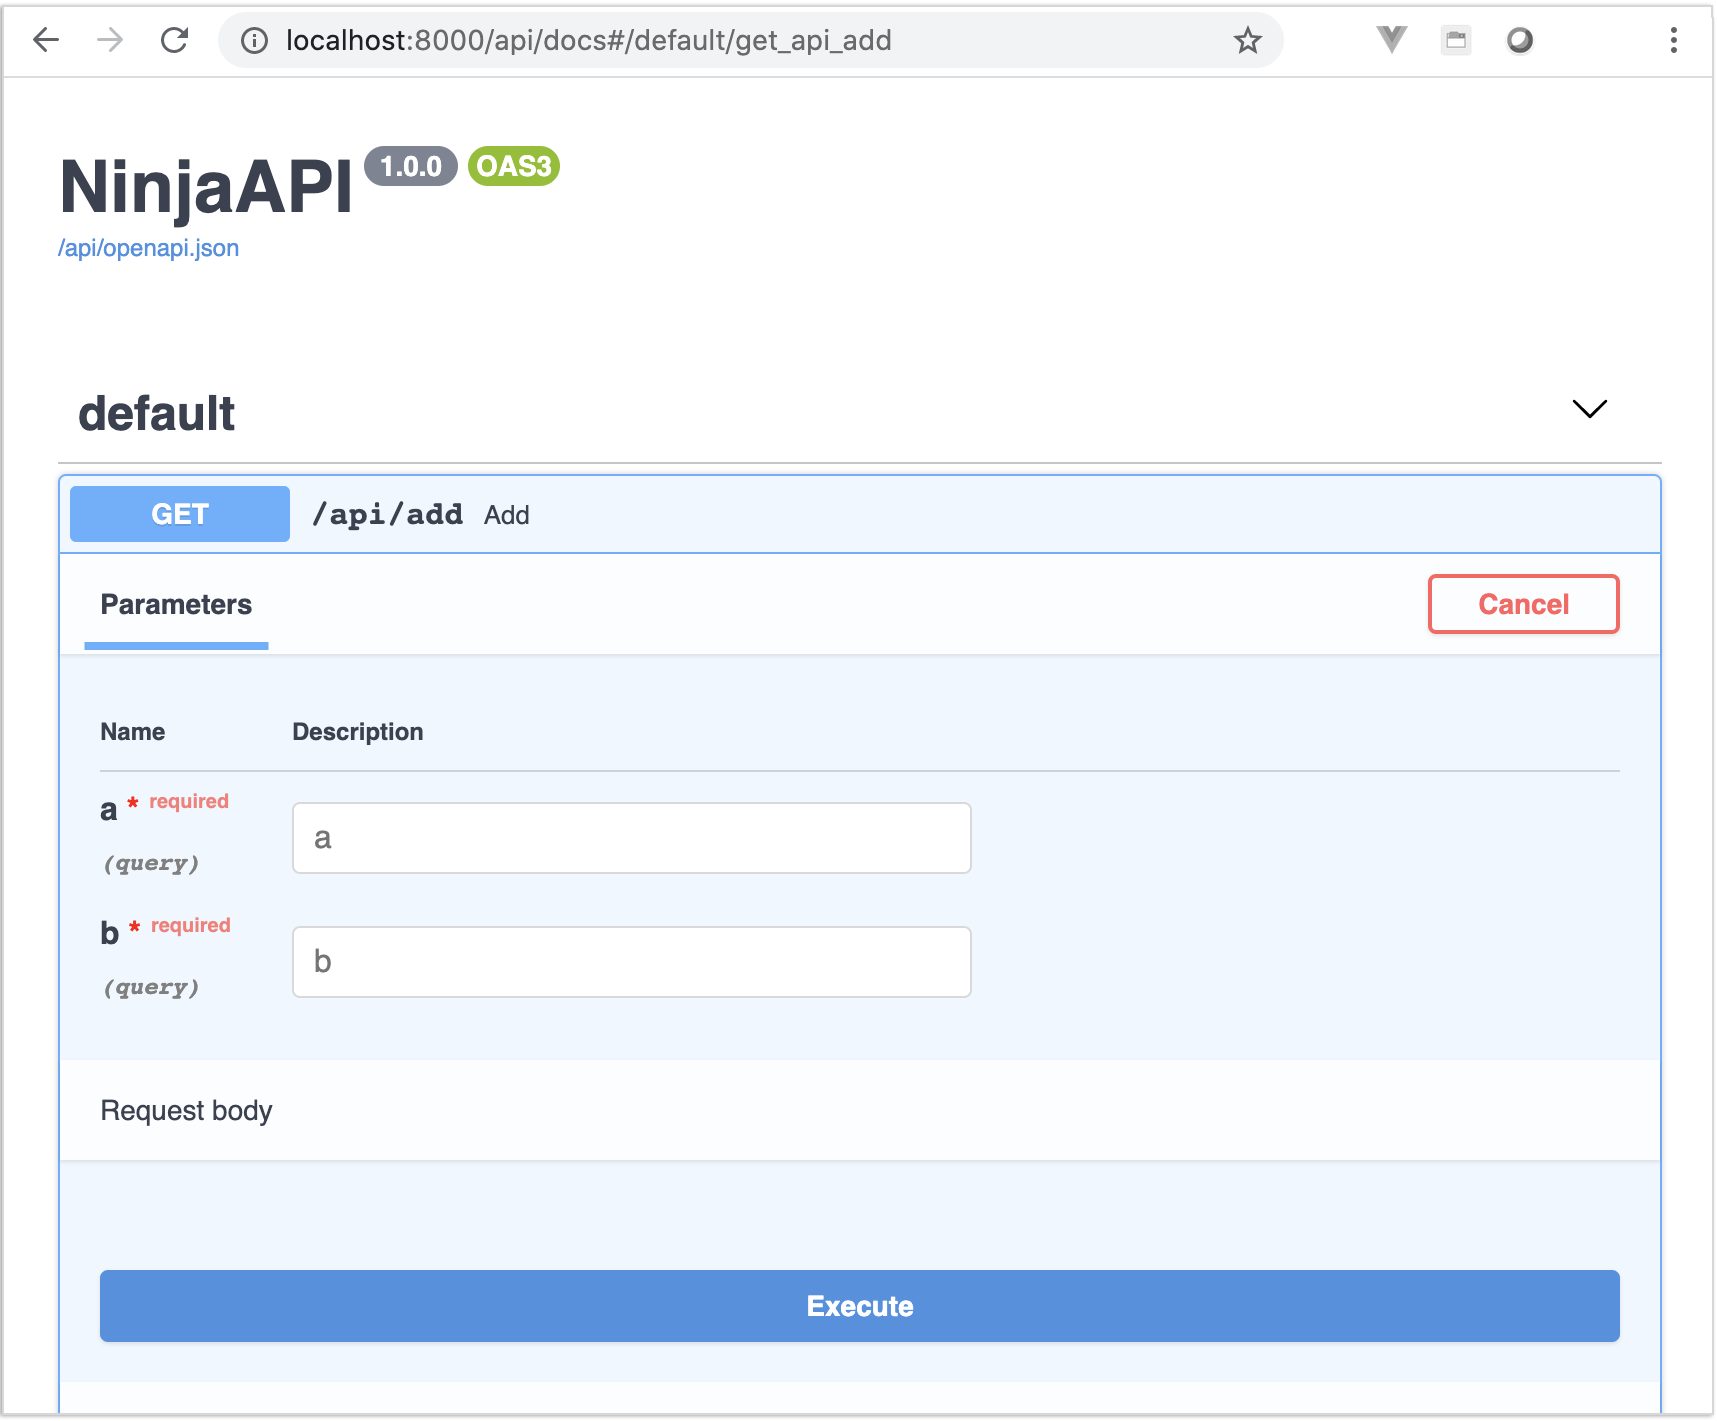
Django Ninja generates an OpenAPI schema from your code, including parameter types, required fields and responses, and serves it with Swagger UI. Click an endpoint, then Try it out to call it from the browser. The raw schema is at /api/openapi.json, ready for client generators and API tools.
The docs are never out of date, because they are built from the same type hints that validate your requests. See OpenAPI & Interactive Docs to customize them.
Next
So far the API only returns hand-built dicts. Next, connect it to a Django model and build a real CRUD API: Models & Schemas.